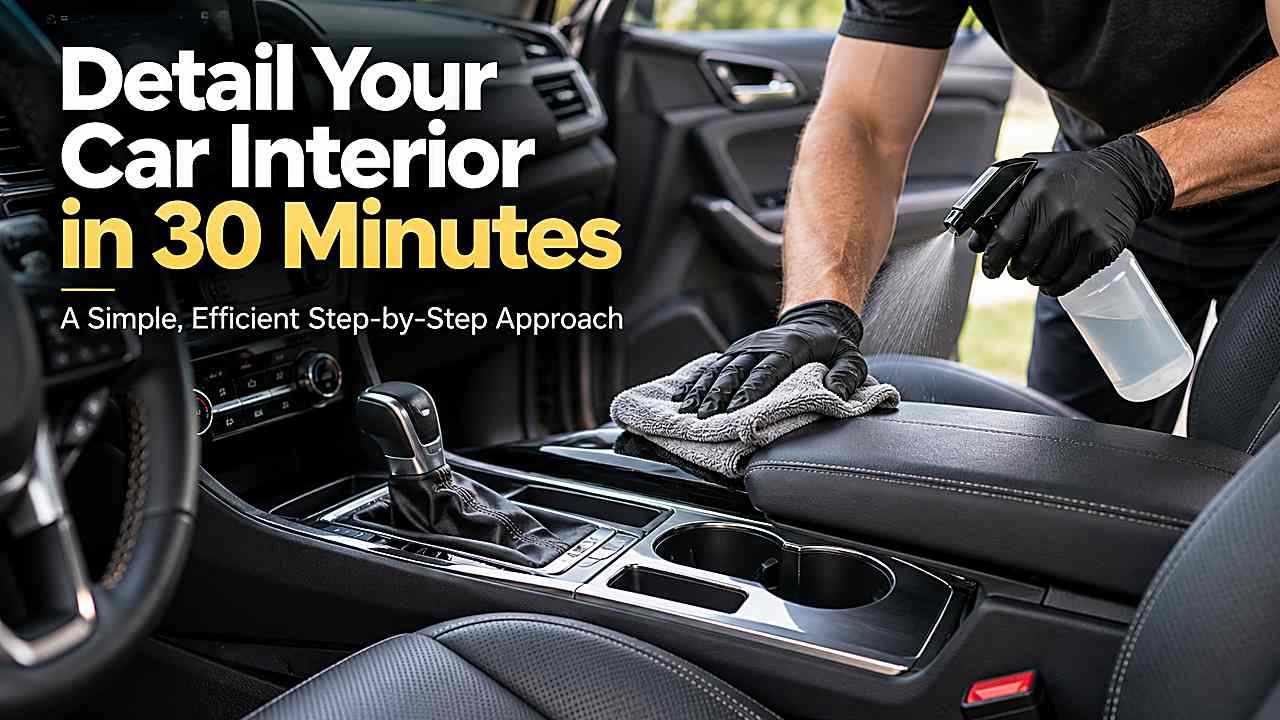
Best way to detail a car interior in 30 minutes sounds straightforward until the material, contamination, or time limit starts working against you. The fastest safe method is usually the one that controls moisture, friction, and access instead of simply adding more force or cleaner.
A good result comes from identifying what is actually holding the dirt, odor, hair, or residue in place and then using the least aggressive method that releases it. The process below focuses on repeatable technique, realistic limits, and the small details that keep a cleanup from creating a second problem.
A good 30-minute interior detail is about triage, not perfection. Remove trash, vacuum the visible zones, clean touch points, wipe glass, and finish the driver area first so the cabin looks and feels dramatically better fast.
Decide what ‘done’ means before the timer starts
Thirty minutes is enough for a strong maintenance detail, but not for stain extraction, seat removal, headliner restoration, or every crevice in a neglected vehicle. The best approach is to prioritize the surfaces that dominate what you see and touch. A clean driver area, clear glass, debris-free floors, and dust-free dashboard create most of the perceived improvement. Trying to deep-clean everything usually leaves the entire cabin half-finished.
Gather tools before opening the first door because setup time can consume a surprising share of the session. A vacuum with crevice tool, two or three microfiber towels, an interior-safe cleaner, a soft brush, glass cleaner, and a trash bag are enough for most cars. Keep products in a small caddy so you are not walking back to the garage repeatedly. The faster workflow comes from fewer interruptions, not from rushing each cleaning motion.
Use the first five minutes for removal and access
Start by taking out trash, loose bottles, charging cables, floor mats, and personal items that block the work area. Put valuables in one container instead of shifting them from seat to seat. Shake loose debris from the mats outside the vehicle and leave them nearby for a quick vacuum later. Opening all doors improves light and gives the vacuum hose a cleaner path through the cabin.
This is also the right moment to move the front seats forward and back once so hidden debris becomes visible. Do not spend time chasing a single coin under a rail if it requires disassembly. A 30-minute detail is about visible, high-value improvement. Anything that needs tools or deep extraction belongs on a later list.
Spend the next ten minutes vacuuming strategically
Begin with the seats and upper surfaces, then move downward so dislodged crumbs finish on the floor where they can be collected last. Use the crevice tool along seat seams, console edges, and the narrow strips beside the seat rails. On carpet, slow overlapping passes work better than frantic back-and-forth movement. The driver’s footwell deserves extra attention because it influences the entire impression when you get back in.
Pet hair and sand can consume the whole session if you let them. In a timed detail, loosen the worst patch with a rubber brush or a few firm hand strokes, then vacuum the gathered pile and move on. Floor mats should get one fast pass on both sides. If they need washing, postpone that job rather than putting damp mats back into a freshly cleaned interior.
Use ten minutes on touch points and visual surfaces
A lightly damp microfiber towel with a suitable interior cleaner can cover the steering wheel, shifter, door pulls, center console, dashboard, and frequently touched switches quickly. Spray the towel rather than electronics so liquid does not collect around buttons or seams. A soft detailing brush helps with vent faces and textured trim while the towel catches loosened dust. Glossy screens need a clean, low-residue cloth and gentle pressure.
Avoid dressing every surface simply for shine. Greasy protectants on steering wheels, pedals, or shifters can reduce grip, while overly glossy dashboards can reflect in the windshield. A clean, natural finish usually looks better and takes less time. If a product leaves residue, a dry finishing towel removes it and sharpens the overall result.
Finish with glass and the driver’s-eye inspection
Use the last five minutes on the inside of the windshield, side glass, mirror, and any obvious fingerprints. Clean glass is one of the fastest ways to make an interior feel professionally finished. Work with a dedicated towel and use minimal product so you are not chasing streaks after the timer ends. Lower the side windows slightly to wipe the top edge if grime is visible there.
Sit in the driver’s seat for a final thirty-second inspection because that viewpoint reveals what matters most. A crumb on the passenger floor may be invisible from the seat, while dust on the gauge hood or a smear on the windshield will be obvious every drive. Correct the two or three things your eye catches first. That final prioritization is what makes a short detail look intentional instead of rushed.
Common mistakes and what to do instead
Most disappointing results come from using the right general idea in the wrong way. These mistakes are common because they feel faster in the moment, but they usually create extra work or push contamination into a harder-to-reach place.
Spending ten minutes on one stain
A timed detail falls apart when one stubborn mark becomes the entire project. Note the stain, improve it briefly if possible, and schedule a deeper treatment later. The goal is broad visual improvement across the whole cabin. A nearly perfect cup holder is not valuable if the floors, glass, and dashboard still look neglected.
Changing tools too often
Constantly switching between brushes, cleaners, and towels wastes more time than most people expect. Use one general interior cleaner on compatible hard surfaces and reserve specialty products for glass and delicate screens. Keep the vacuum attached to the crevice tool until the main debris is finished. A simple kit encourages a faster rhythm.
Cleaning in a random order
Moving back and forth between doors creates rework and makes it easy to miss areas. A repeatable route around the cabin is faster: remove items, vacuum high to low, wipe surfaces, then finish glass. The exact direction matters less than consistency. A sequence turns the job into muscle memory over time.
Trying to make every surface glossy
High shine is not the same thing as clean. Glossy dressings can emphasize uneven application, attract dust, and create windshield reflections. A natural finish on dashboard and door trim usually looks more refined and requires less buffing. Save time by cleaning thoroughly and using protectant only where it adds a real benefit.
How to know the job is actually finished
A 30-minute interior detail is finished when the cabin looks consistently cared for from the driver’s seat, not when every hidden surface is perfect. The floor should be free of obvious debris, glass should be clear, touch points should feel clean, and the dashboard should no longer show a visible dust film. Small stains can remain on a future-work list without making the session a failure.
A quick walk around all open doors catches the most obvious missed areas before tools are put away. Look for crumbs on seat edges, streaks on the windshield, and debris trapped beside the center console. Those corrections take seconds and improve the result more than another five minutes spent on an invisible crevice.
Practical notes for consistent results
Real-world results improve when the process is repeated consistently instead of changed every time something looks difficult. Work in good light, keep tools clean, and inspect the surface or material between passes so you can see whether the method is actually improving the problem. If progress stops, changing the tool or chemistry is usually more useful than adding pressure. This approach also makes future maintenance faster because you learn which part of the routine produces the biggest improvement.
Frequently Asked Questions
These questions cover the practical decisions that usually come up once the basic method is clear.
Can I really detail a dirty car interior in 30 minutes?
You can make a major improvement in 30 minutes, but a heavily neglected cabin will not be fully restored. The time limit works best for maintenance cleaning or a vehicle that has normal dust, crumbs, and fingerprints. Deep stains, heavy pet hair, or odor removal need separate sessions. Setting realistic expectations prevents wasted time on one stubborn problem.
What should I clean first in a fast interior detail?
Start by removing trash and loose items because everything else becomes easier once the surfaces are accessible. Vacuum from upper areas downward, then wipe touch points and finish with glass. This sequence limits rework because debris falls before the floor is finalized. The driver’s area should receive priority if time runs short.
Should I use interior dressing during a 30-minute detail?
Only if the surface genuinely needs protection and the product dries to a safe, non-greasy finish. Cleaning has more visual impact than dressing during a short session. Steering wheels, pedals, and shift controls should never be left slick. A natural matte result is usually faster and safer.
How many microfiber towels do I need?
Three or four is a practical minimum: one for general interior cleaning, one dry finishing towel, one dedicated glass towel, and an optional extra for dirtier lower trim. Using one towel for everything transfers grime and can create glass streaks. Folding towels into quarters gives multiple clean faces. Replace a towel once it becomes visibly dirty or damp.
What should I skip if I only have 30 minutes?
Skip jobs that require soaking, disassembly, long dwell times, or extensive drying. Headliner stains, deep seat extraction, stubborn carpet spots, and detailed vent removal can wait. Focus on trash, vacuuming, touch points, dashboard dust, and glass. Those areas deliver the greatest improvement per minute.
Conclusion
Best way to detail a car interior in 30 minutes is much easier when the process matches the material and the actual source of the problem. Preparation, controlled cleaning, and complete drying or inspection matter more than aggressive products or repeated scrubbing.
Use the first attempt to remove the bulk of the contamination safely, then reassess what remains before escalating. That approach produces a cleaner result while protecting the interior materials, equipment, and safety systems you are trying to preserve.