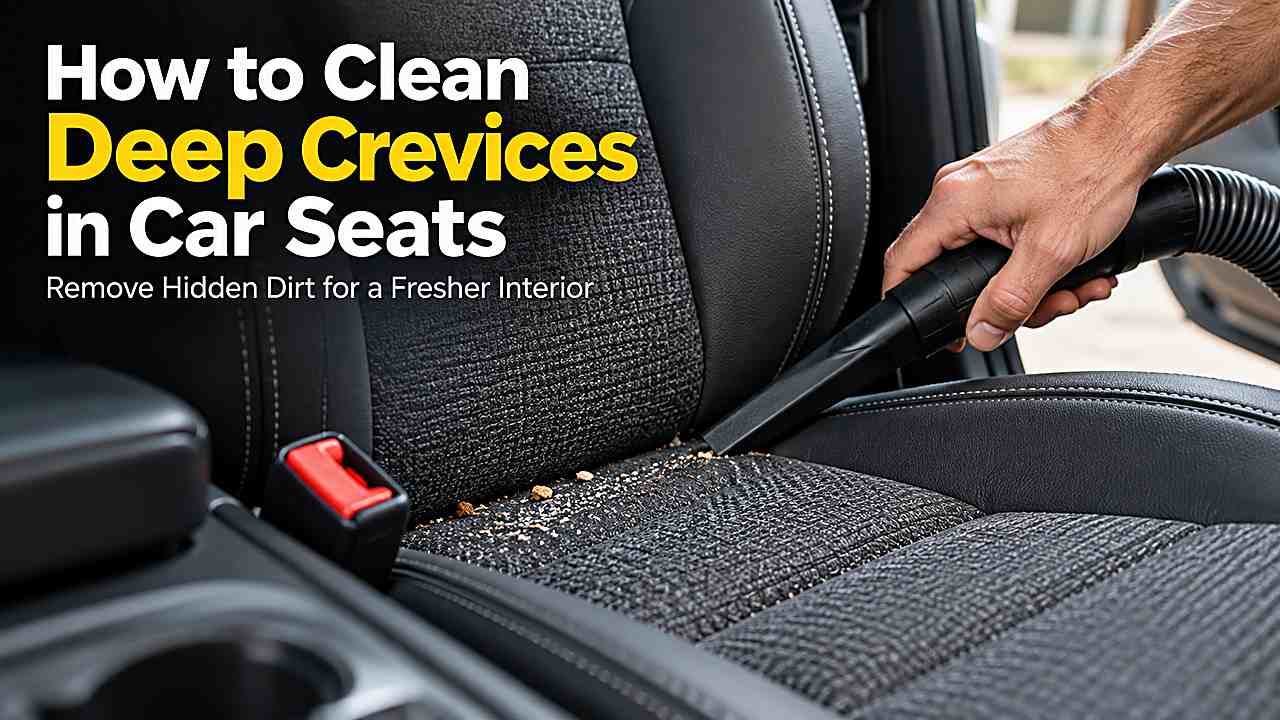
Cleaning deep crevices in car seats sounds simple until the material, contamination, and hidden edges start working against you. Movement and gravity push debris into gaps where ordinary wiping cannot reach, especially beside bolsters and around seat hardware. That is why a method that looks effective for the first minute can still leave streaks, residue, odor, or damage after the surface dries.
The goal is to clean deep crevices in car seats efficiently while preserving seat seams, bolsters, rails, buckle pockets, and narrow gaps between cushions. A careful process starts with move the seat through its safe range, remove loose items, and inspect gaps so tools do not snag wires or upholstery, then uses the least aggressive combination of tool and cleaner that will solve the actual problem. The sections below explain how to judge the surface, carry out the work, and recognize when a different approach is safer.
A narrow vacuum nozzle paired with a soft detailing brush is the most useful combination. The brush breaks the debris free while suction removes it instead of simply pushing it deeper.
Match the tool to the material, not just the mess
Tool choice affects both speed and finish quality. For this job, a crevice vacuum nozzle and a soft detailing brush gives the best balance of reach and control, while compressed air used cautiously, flexible micro-vacuum attachments, or a microfiber-wrapped plastic detailing tool helps with details the main tool cannot reach. The important point is not owning many accessories, but using each one for a specific task.
Cleaner strength should stay proportional to the contamination. Minimal upholstery-safe cleaner only after dry debris has been removed is a sensible starting point because it addresses the soil without immediately escalating to harsh chemistry. When a first pass leaves a small amount behind, repeating a gentle method is usually safer than jumping straight to a strong solvent or abrasive tool.
Cross-contamination is easy to overlook. Towels and brushes that have touched greasy trim, wheel products, or heavy grime should not move onto a sensitive interior surface. Clean tools make the final result more predictable and reduce the chance that the ‘streak’ or ‘shine’ seen afterward is actually residue from a previous job.
- Primary tool: a crevice vacuum nozzle and a soft detailing brush
- Secondary tool: compressed air used cautiously, flexible micro-vacuum attachments, or a microfiber-wrapped plastic detailing tool
- Cleaner: minimal upholstery-safe cleaner only after dry debris has been removed
- Main thing to avoid: metal picks, sharp screwdrivers, aggressive compressed air near electronics, and wet cleaning before loose grit is removed
Why deep crevices in car seats gets harder to clean than it looks
The surface usually gives useful clues about how aggressive the cleaning should be. In this case, the main contamination is crumbs, grit, pet hair, lint, sticky debris, and fine dust that settles below the visible seat surface. Movement and gravity push debris into gaps where ordinary wiping cannot reach, especially beside bolsters and around seat hardware. That combination explains why a quick wipe often improves appearance without fully solving the issue.
Material behavior matters just as much as the mess itself. Seat seams, bolsters, rails, buckle pockets, and narrow gaps between cushions can tolerate routine cleaning, but the risk rises when friction, liquid, heat, or chemical strength exceeds what the surface was designed to handle. Power-seat wiring, occupancy sensors, heated-seat connectors, and buckle hardware can be present under or beside the cushion.
A useful way to judge progress is to separate loose contamination from bonded residue. Loose dust or grit should come away with dry methods first, while the remaining film can then be treated with minimal upholstery-safe cleaner only after dry debris has been removed. This sequence keeps dirt from being turned into an abrasive slurry and makes the wet stage more controlled.
A practical method for cleaning deep crevices in car seats
A controlled sequence keeps the job efficient because each stage prepares the surface for the next one. The process below begins with the least aggressive work and only adds moisture or chemistry after dry contamination has been removed. That order is especially important around seams, electronics, bonded fabrics, and coated surfaces.
1. Start with the lowest-risk cleaning stage.
Preparation starts with move the seat through its safe range, remove loose items, and inspect gaps so tools do not snag wires or upholstery. This removes variables that can turn an easy job into a messy one. A quick inspection also reveals damaged trim, loose fabric, open seams, electronics, or specialty materials that need a lighter touch. Dry contamination deserves attention before any liquid is added.
Dust, crumbs, hair, or grit can scratch or smear when trapped under a wet towel. Removing that material first also lets the cleaner contact the actual stain or film instead of fighting through a layer of debris. Throughout this stage, the main priority remains protecting seat seams, bolsters, rails, buckle pockets, and narrow gaps between cushions while removing crumbs, grit, pet hair, lint, sticky debris, and fine dust that settles below the visible seat surface.
2. Work gradually instead of flooding the area.
The main cleaning stage is based on loosen packed material with a soft brush while the vacuum captures it, then treat any sticky residue locally instead of soaking the whole crevice. The surface should become cleaner in a controlled way rather than suddenly soaked or heavily scrubbed. Working in small areas makes it easier to see whether the method is improving the surface or simply moving contamination around. Pressure should remain modest because chemistry and dwell time can do much of the work.
If residue persists, a second gentle pass usually makes more sense than increasing force immediately. That approach protects finishes, stitching, adhesives, and delicate texture while still allowing the cleaning to progress. Throughout this stage, the main priority remains protecting seat seams, bolsters, rails, buckle pockets, and narrow gaps between cushions while removing crumbs, grit, pet hair, lint, sticky debris, and fine dust that settles below the visible seat surface.
3. Remove residue and confirm an even finish.
Finishing is more than cosmetic because leftover moisture and product can create the next problem. Make a final vacuum pass with the seat repositioned because debris often hides from one angle. A clean dry towel or adequate airflow is often the difference between a surface that looks good while wet and one that still looks good an hour later. The final inspection should happen from more than one angle whenever possible.
Changing the light reveals streaks, remaining soil, lifted fibers, or uneven sheen that were not obvious during the wet stage. Small corrections are easiest while the tools are still out and the residue has not had time to dry again. Throughout this stage, the main priority remains protecting seat seams, bolsters, rails, buckle pockets, and narrow gaps between cushions while removing crumbs, grit, pet hair, lint, sticky debris, and fine dust that settles below the visible seat surface.
Shortcuts that leave residue, stains, or damage
The most common mistake is assuming that more product or more force will solve the job faster. Here, the main risk is forcing rigid tools into seams, catching wiring, or grinding gritty debris against leather or vinyl. Once that happens, the cleanup can become more difficult than the original contamination and may require repair rather than detailing.
Another weak approach is metal picks, sharp screwdrivers, aggressive compressed air near electronics, and wet cleaning before loose grit is removed. These methods often look efficient because they change the surface quickly, but the change may come from residue, abrasion, excess moisture, or altered sheen instead of true cleanliness. A slower, controlled pass is easier to evaluate and easier to stop if the material reacts poorly.
Stopping at the right time is part of good detailing. A stain that is clearly improving can justify another gentle cycle, while fading dye, roughening fibers, tackiness, or a change in gloss means the process should be reassessed. Preserving the material is more important than chasing the last faint mark with an increasingly aggressive method.
How to keep the result looking clean longer
Maintenance changes the difficulty of the next deep clean. A short crevice vacuum during regular interior cleaning prevents debris from compacting into difficult layers. Frequent light care removes contamination while it is still near the surface instead of waiting until it has bonded, dried, or migrated into seams and padding.
Storage of cleaning tools matters as well. Microfiber should be washed without fabric softener, brushes should be kept free of grit, and small interior tools should not share a bag with wheel or exterior equipment. That simple separation keeps future cleaning from adding oily residue or abrasive particles to a delicate surface.
The best routine is the one that matches how the vehicle is actually used. Pets, children, beach trips, smoking history, frequent food and drink, or dusty parking conditions all change how quickly contamination returns. Adjusting maintenance to those conditions is more useful than following a rigid calendar.
Frequently Asked Questions
These questions cover the situations that most often change the recommendation for cleaning deep crevices in car seats. The direct answer comes first, followed by the material and process considerations that matter in practice. When manufacturer instructions conflict with generic detailing advice, the manufacturer guidance should take priority.
Can I remove the car seat to clean underneath it?
Seat removal can provide better access, but modern seats may contain airbag, occupancy, and power connectors that make unnecessary removal a poor DIY choice. The safest answer depends on the exact material and how deeply the contamination has penetrated. A small test in an inconspicuous area is useful whenever cleaner strength or colorfastness is uncertain.
More liquid is rarely the first solution because excess moisture can move residue into seams, backing, foam, or electronics. A clean final wipe and complete drying also matter because many apparent stains are partly leftover cleaner or uneven moisture.
Is compressed air safe for seat crevices?
Low, controlled air can help in open gaps, but it can scatter debris and should never be blasted into electrical connectors or delicate seams. A small test in an inconspicuous area is useful whenever cleaner strength or colorfastness is uncertain. More liquid is rarely the first solution because excess moisture can move residue into seams, backing, foam, or electronics.
A clean final wipe and complete drying also matter because many apparent stains are partly leftover cleaner or uneven moisture. When the material shows damage, discoloration, delamination, or a persistent odor from below the surface, professional help can be more sensible than repeated DIY treatment.
How do I get sticky food out of a narrow seat gap?
Dry debris should come out first, after which a lightly damp microfiber-wrapped plastic tool can work on the residue without flooding the seam. More liquid is rarely the first solution because excess moisture can move residue into seams, backing, foam, or electronics. A clean final wipe and complete drying also matter because many apparent stains are partly leftover cleaner or uneven moisture.
When the material shows damage, discoloration, delamination, or a persistent odor from below the surface, professional help can be more sensible than repeated DIY treatment. The safest answer depends on the exact material and how deeply the contamination has penetrated.
What is the best vacuum attachment for tight car seats?
A long tapered crevice tool usually reaches the most useful areas, while flexible micro-tools can help around rails and buckle recesses. A clean final wipe and complete drying also matter because many apparent stains are partly leftover cleaner or uneven moisture. When the material shows damage, discoloration, delamination, or a persistent odor from below the surface, professional help can be more sensible than repeated DIY treatment.
The safest answer depends on the exact material and how deeply the contamination has penetrated. A small test in an inconspicuous area is useful whenever cleaner strength or colorfastness is uncertain.
How often should seat crevices be cleaned?
A quick pass during routine vacuuming prevents crumbs and grit from becoming compacted, especially in family vehicles and cars that carry pets. When the material shows damage, discoloration, delamination, or a persistent odor from below the surface, professional help can be more sensible than repeated DIY treatment. The safest answer depends on the exact material and how deeply the contamination has penetrated.
A small test in an inconspicuous area is useful whenever cleaner strength or colorfastness is uncertain. More liquid is rarely the first solution because excess moisture can move residue into seams, backing, foam, or electronics.
Conclusion
Cleaning deep crevices in car seats works best when the method respects both the contamination and the material underneath it. A narrow vacuum nozzle paired with a soft detailing brush is the most useful combination. The brush breaks the debris free while suction removes it instead of simply pushing it deeper. The surface should end the process clean, dry, and unchanged in texture or finish rather than simply looking wet or freshly dressed.
The practical next step is to begin with move the seat through its safe range, remove loose items, and inspect gaps so tools do not snag wires or upholstery, then use a crevice vacuum nozzle and a soft detailing brush and minimal upholstery-safe cleaner only after dry debris has been removed with controlled pressure and moisture. If the material reacts poorly or the contamination clearly extends beneath the visible surface, stopping early is a better decision than escalating blindly.