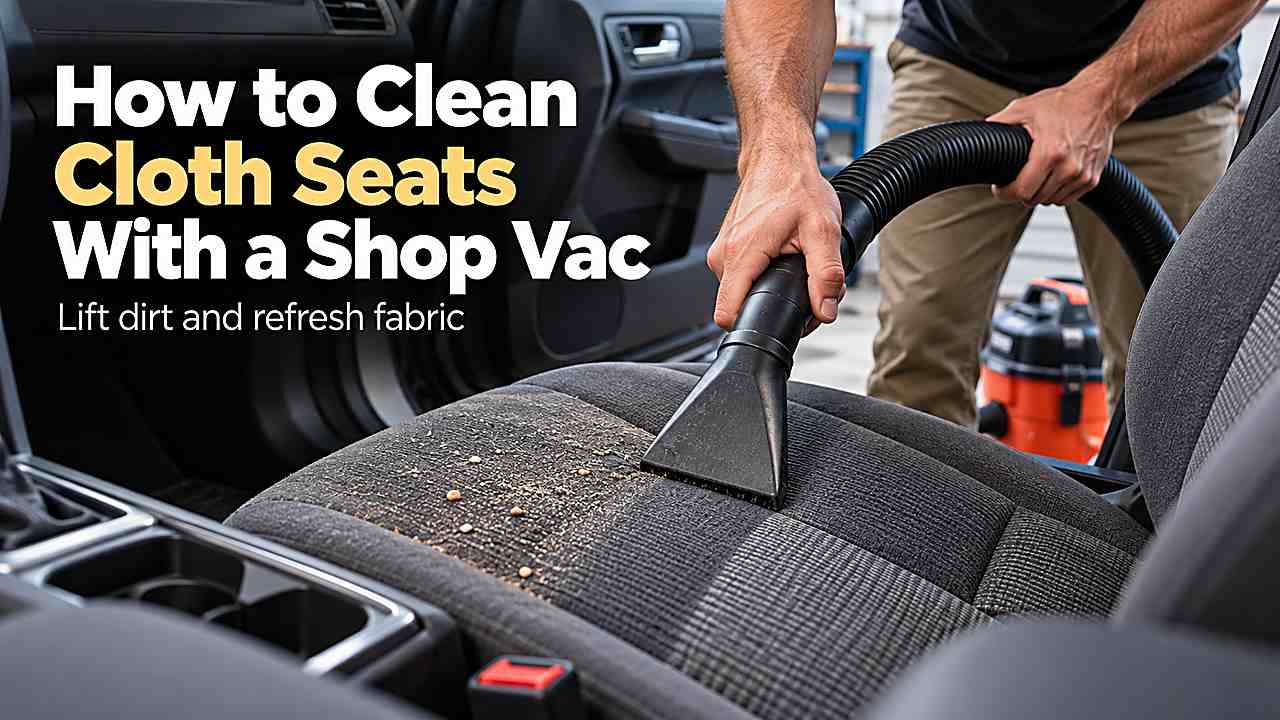
How to clean cloth seats with a shop vac sounds straightforward until the material, contamination, or time limit starts working against you. The fastest safe method is usually the one that controls moisture, friction, and access instead of simply adding more force or cleaner.
A good result comes from identifying what is actually holding the dirt, odor, hair, or residue in place and then using the least aggressive method that releases it. The process below focuses on repeatable technique, realistic limits, and the small details that keep a cleanup from creating a second problem.
A shop vac can clean cloth seats effectively when you treat it as an extractor substitute, not a pressure washer. Use minimal cleaner, agitate gently, recover moisture in repeated passes, and let the seat dry completely before regular use.
What a shop vac can and cannot do on cloth seats
A wet/dry shop vac can recover dirty moisture from upholstery, but it does not inject solution and extract it in one controlled motion like a dedicated carpet extractor. That difference matters because automotive seats contain foam that can hold water long after the fabric surface feels dry. The safest method uses very small amounts of liquid and several extraction passes. More cleaner rarely means a cleaner seat if the foam beneath becomes saturated.
The seat’s construction also matters. Many modern seats contain heaters, occupancy sensors, side airbags, wiring, or ventilated channels. None of those components benefit from being flooded. Before cleaning, check the owner’s manual for restrictions and avoid soaking seams, switches, perforations, or electrical connectors. A shop vac is useful because it gives you control, but that control only works if you keep the liquid load modest.
Prepare the seat before any moisture touches it
A thorough dry vacuum removes grit that would otherwise turn into muddy paste when cleaner is added. Pay attention to stitching, the gap between cushion and backrest, and the area around seat rails. A soft brush can lift crumbs and dust from the weave while the vacuum captures them. This preparation shortens the wet-cleaning stage and reduces the number of passes needed later.
Test the cleaner on an inconspicuous area, especially on older fabric or strongly dyed upholstery. A mild upholstery cleaner is usually easier to control than a high-foam household product. Mix or dilute it exactly as directed because concentrated residue can attract new soil after the seat dries. Keep several clean microfiber towels nearby so you can blot excess moisture rather than relying on suction for every drop.
Clean one small section at a time
Work in sections roughly the size of a sheet of paper so the cleaner does not dry unevenly. Lightly mist the fabric, give the product a short dwell time if the label allows it, then agitate with a soft upholstery brush. The goal is to release body oils and soil from the textile surface, not scrub aggressively enough to fuzz the fibers. Heavily stained spots may need a second controlled pass rather than one saturated treatment.
After agitation, place the shop-vac nozzle flat against the fabric and draw it slowly toward you. Overlapping passes help pull moisture from the same area from more than one direction. When the nozzle stops pulling visible moisture, blot with a clean towel and move to the next section. Keeping the process consistent prevents the patchy rings that often appear when one area is much wetter than another.
Avoid tide marks and slow-drying seat foam
Water rings form when dissolved soil and cleaner migrate to the edge of a wet patch as it dries. Cleaning the whole panel evenly, rather than treating a large stain as a tiny isolated spot, reduces that contrast. On a seat cushion, that may mean cleaning from seam to seam even if the visible stain occupies only the center. Final extraction passes should extend slightly beyond the original stained area.
Drying is part of the cleaning process, not an afterthought. Open the doors in a secure, ventilated place, use fans when possible, and avoid closing the car while the upholstery is still damp. Heated seats should not be used as improvised dryers because trapped moisture and electrical components are a poor combination. The seat is ready when the fabric feels dry, the foam does not feel cool or clammy under pressure, and no musty odor develops.
Know when a dedicated extractor is the better tool
A shop vac works well for maintenance cleaning and moderate spills, but deep contamination may require more controlled flushing. Milk, vomit, flood water, and old sugary drinks can penetrate farther into foam than surface cleaning reaches. In those cases, repeated spot treatment can leave the hidden source in place while only improving the top layer. A professional extractor or upholstery service can recover more contamination with less guesswork.
Seat design can also limit DIY cleaning. If a stain sits beside an airbag seam, seat-control module, or perforated ventilation area, conservative cleaning is safer than aggressive saturation. The best result is not the wettest or most dramatic process. It is the cleanest fabric you can achieve while keeping the seat structure dry and functional.
Common mistakes and what to do instead
Most disappointing results come from using the right general idea in the wrong way. These mistakes are common because they feel faster in the moment, but they usually create extra work or push contamination into a harder-to-reach place.
Soaking one stain instead of cleaning the whole fabric panel
A small dark mark tempts people to flood only that spot, but the water boundary can become a visible ring after drying. Cleaning from seam to seam creates a more even moisture pattern and reduces wicking contrast. The stain itself may still receive extra agitation, but the surrounding fabric should be lightly blended. This produces a more uniform finish without saturating the foam.
Using too much foam
Foam feels reassuring because it looks active, yet thick suds are difficult to recover from seat fabric with a shop vac. Residual detergent can dry sticky and make the seat soil faster. Low-foaming upholstery cleaners are easier to control and rinse. If the nozzle keeps pulling white suds after several passes, the cleaning mixture was probably too strong.
Closing the car before the foam beneath the fabric is dry
The surface can feel dry while the cushion remains cool and damp deeper down. Closing doors and windows at that point traps humidity and encourages musty odor. Airflow is the most important final step after low-moisture cleaning. A fan aimed through the cabin is often more useful than another round of cleaner.
Treating electrical seat features like ordinary fabric
Heated, cooled, powered, and airbag-equipped seats contain components that should not be flooded. Cleaning solution should stay on the textile surface and away from switches, connectors, and seam areas identified by the manufacturer. If contamination has soaked into a complex powered seat, conservative professional cleaning may be the better choice. Upholstery appearance is not worth compromising a safety or electrical system.
How to know the job is actually finished
The final check should happen after the surface is dry and under good light, because moisture can hide residue, stains, or odor. Look from more than one angle and touch the cleaned area with a clean hand or towel to check for tackiness. A neutral smell and even appearance are better indicators than heavy fragrance or temporary shine.
If the same problem reappears quickly, reassess the source rather than repeating the entire process with more force. Hidden contamination, trapped moisture, or the wrong tool is usually more likely than a need for stronger chemistry. A second pass should be more targeted than the first.
Practical notes for consistent results
Real-world results improve when the process is repeated consistently instead of changed every time something looks difficult. Work in good light, keep tools clean, and inspect the surface or material between passes so you can see whether the method is actually improving the problem. If progress stops, changing the tool or chemistry is usually more useful than adding pressure. This approach also makes future maintenance faster because you learn which part of the routine produces the biggest improvement.
Frequently Asked Questions
These questions cover the practical decisions that usually come up once the basic method is clear.
Can I use a shop vac as a carpet extractor on car seats?
Yes, but it is a simplified version of extraction because the vacuum only removes liquid; it does not meter and inject solution. You need to apply cleaner separately and very sparingly. Slow suction passes can recover a surprising amount of moisture from cloth. The main risk is adding more liquid than the vacuum can remove from the underlying foam.
How much cleaner should I spray on cloth seats?
Use enough to evenly dampen the textile surface, not enough to make it visibly puddle or run. Product labels differ, so follow the recommended dilution and dwell time. A fine mist gives you more control than pouring solution onto the seat. If a second treatment is needed, let the first pass be extracted before adding more.
Can I use dish soap in a shop-vac seat cleaning mix?
Dish soap is usually a poor choice because it can foam heavily and leave surfactant residue in upholstery. Automotive or fabric-specific low-residue cleaners are easier to rinse and extract. Excess foam also makes it harder to judge how much actual moisture is in the seat. A purpose-made upholstery product gives a more predictable result.
How long do cloth car seats take to dry?
Drying time varies with how wet the foam became, airflow, humidity, and temperature. A lightly cleaned seat with good ventilation may dry in several hours, while an over-saturated cushion can remain damp much longer. Fans and open doors in a safe location speed evaporation. Do not judge dryness only by the top fabric because the foam can still hold moisture underneath.
Why does a stain come back after the seat dries?
Recurring stains often come from wicking, where dissolved contamination rises from deeper foam as moisture evaporates. Overwetting makes this more likely because the stain has more liquid to travel through. A second low-moisture cleaning and thorough extraction may solve it. Persistent odor or discoloration can indicate contamination deeper than a shop vac can reliably reach.
Conclusion
How to clean cloth seats with a shop vac is much easier when the process matches the material and the actual source of the problem. Preparation, controlled cleaning, and complete drying or inspection matter more than aggressive products or repeated scrubbing.
Use the first attempt to remove the bulk of the contamination safely, then reassess what remains before escalating. That approach produces a cleaner result while protecting the interior materials, equipment, and safety systems you are trying to preserve.