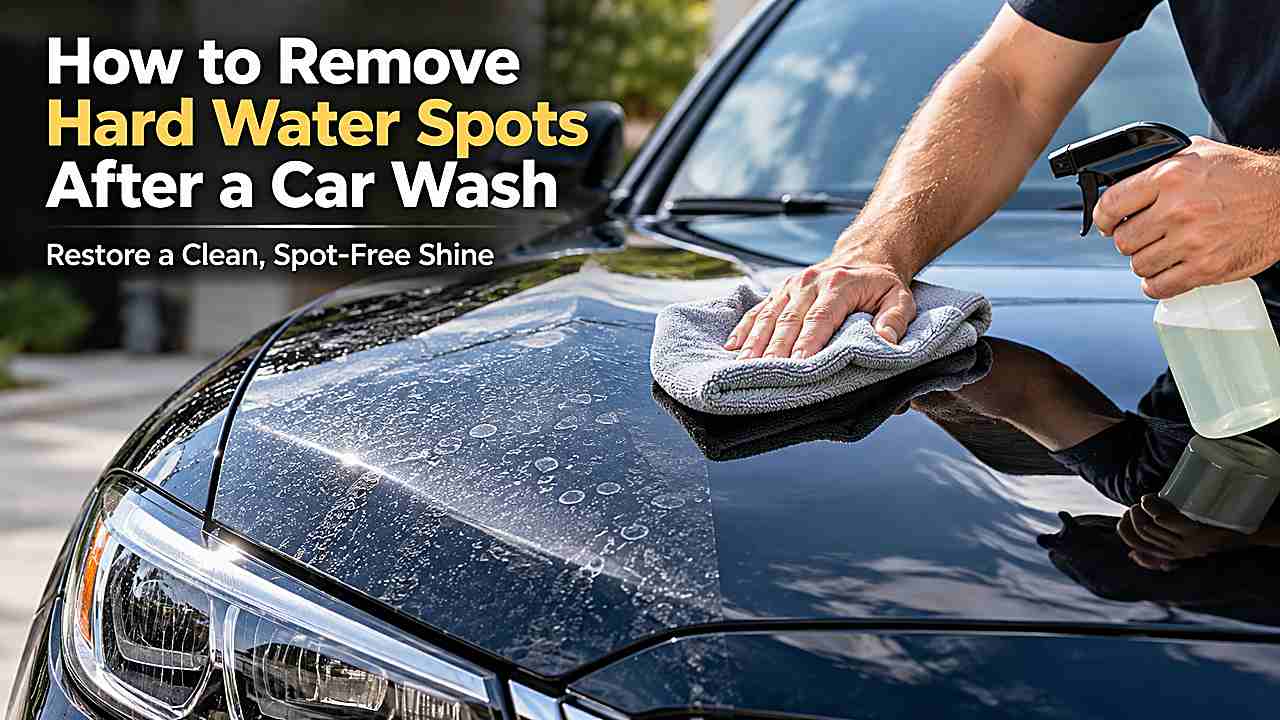
Hard water spots appear when water evaporates and leaves dissolved minerals on the surface. Fresh deposits may be easy to remove, while spots that have bonded or etched into clear coat need progressively more involved treatment.
The safest strategy is to start with the least aggressive method and stop escalating as soon as the marks are gone.
To remove hard water spots after a car wash, wash and cool the paint first, then try a dedicated water-spot remover or a mild vinegar-and-distilled-water solution on fresh deposits. If residue remains, consider clay for bonded contamination; true etched spots on glossy paint may require polishing.
First identify what kind of water spot you have
Not every circular mark needs polishing. Surface mineral deposits sit on top of the paint, bonded deposits cling more stubbornly, and etched marks are physical defects in the clear coat after the residue has reacted with or damaged the surface.
This distinction matters because chemicals can dissolve minerals but cannot fill or reverse a crater in clear coat. Polishing removes a microscopic amount of surrounding paint to level an etched defect, so it should not be your first response.
| Condition | Typical clue | Starting approach |
|---|---|---|
| Fresh mineral residue | Chalky ring after drying | Wash, water-spot remover or mild acid |
| Bonded deposit | Survives normal washing; surface may feel contaminated | Chemical decontamination, then clay if appropriate |
| Etched clear coat | Visible mark remains after deposits are gone | Paint correction on glossy paint |
Remove fresh hard water spots step by step
Work on cool paint in the shade. Heat accelerates evaporation and can cause your cleaning solution to dry before you rinse it away.
1. Wash the affected area
Remove loose dirt before treating the spots. You need a clean surface so a towel or applicator does not grind unrelated contamination across the paint.
2. Try a dedicated water-spot remover
A product designed to dissolve mineral deposits is the most controlled option because its directions specify dwell time and compatible surfaces. Test an inconspicuous area first and do not let the chemical dry.
3. Use diluted white vinegar only for suitable glossy surfaces
For fresh mineral deposits, a mild solution of white vinegar and distilled water can help dissolve alkaline scale. Apply briefly to cool, clean glossy paint, wipe gently with microfiber, rinse thoroughly, and avoid leaving the solution on sensitive trim or specialty finishes.
Do not assume this method is appropriate for matte paint, uncoated metal, wraps, or every aftermarket surface. Use product-specific guidance for those materials.
4. Rinse and dry immediately
Once the deposit releases, flush away dissolved minerals and chemical residue. Dry with a clean microfiber towel so the rinse water does not create a new round of spots.
5. Reinspect in good light
If the ring is still visible, do not keep rubbing harder. Decide whether you are dealing with bonded contamination or etching before moving to a more aggressive method.
When a clay bar can help
Detailing clay removes contamination that sits above the paint surface. If mineral deposits have bonded and chemical treatment leaves the paint feeling rough, properly lubricated clay can lift remaining contamination.
Clay can also create light marring, especially on soft dark paint, so use plenty of lubricant and minimal pressure. It will not fix a true etch that is physically below the surface.
When polishing becomes necessary
If the mineral residue is gone but a dull ring remains in glossy clear coat, the defect may be etched. Polishing can level shallow etching, but every polishing step removes a small amount of clear coat.
Start with the least aggressive polish and pad combination capable of correcting the defect. If the etching is deep, widespread, or the paint history is unknown, a professional detailer with paint-thickness awareness is the safer option.
What not to do to water spots
Do not attack mineral deposits with a dry towel, household scouring pad, magic eraser, or heavy compound as your first move. Aggressive abrasion can turn a removable deposit into scratches that require correction.
Also avoid treating every white mark as hard water. Dried soap, wax residue, acid-rain etching, sprinkler minerals, and clear-coat failure can look similar from a distance but need different solutions.
- Do not dry-scrub chalky deposits
- Do not polish before you remove surface minerals
- Do not use strong acid without surface-specific directions
- Do not clay without lubricant
- Do not use gloss polish on matte or satin paint
How to prevent hard water spots after future washes
Prevention is mostly about controlling what is left on the paint. Wash on cool panels, rinse thoroughly, use spot-free final water where available, and dry before ordinary tap water can evaporate.
Protection such as compatible wax, sealant, or ceramic coating can make routine cleaning easier, but no protection makes paint immune to minerals. Prompt drying remains important.
Treat glass, trim, and specialty finishes separately
Hard-water residue also collects on glass, mirrors, chrome, plastic trim, and wheel finishes, but the safest paint method is not automatically the safest method for every nearby material. Before using an acidic water-spot product, check whether it is approved for glass coatings, tint edges, bare or polished metal, rubber, plastic, vinyl wrap, paint-protection film, and matte or satin finishes.
Mask or avoid sensitive adjacent materials when product directions call for it, and rinse runoff thoroughly. If spotting crosses several different surfaces, work on one material at a time instead of spraying the entire side of the vehicle with a single strong cleaner. This slower approach reduces the chance of clearing the paint while staining trim or altering a specialty finish.
Quick decision guide for real-world conditions
The best approach to how to remove hard water spots after a car wash changes with temperature, contamination level, and the condition of the surface. Use the wash bay as a cleaning system rather than following every dial setting automatically. If a surface is hot, heavily contaminated, damaged, or made from a specialty material, reduce pressure and chemical strength before you increase them.
When a first pass does not remove a mark, identify the problem before repeating the same action with more force. Loose dirt needs rinsing, oily film needs compatible chemistry, bonded contamination may need a dedicated decontamination step, and physical paint defects require correction rather than stronger washing. This simple diagnosis prevents many avoidable scratches and stains.
Weather also changes the routine. In direct sun, work smaller areas and rinse sooner. In cold conditions, be cautious around frozen seals and brittle plastics. In wind, expect dust to settle on wet paint and avoid prolonged air-drying even after a good final rinse.
If the vehicle has a ceramic coating, vinyl wrap, matte finish, aftermarket wheel finish, convertible fabric, PPF, fresh body repair, or specialty graphics, follow the manufacturer or installer’s care instructions ahead of generic wash-bay advice. Compatibility beats convenience when the surface is expensive to repair.
Do not try to recover lost time by scrubbing harder near the end of a paid cycle. It is safer to add another short cycle, rinse again, or finish a stubborn defect later with the correct product than to grind contamination into the surface because the timer is beeping.
A useful habit is to reserve tools by contamination level. Paint gets the cleanest towels and mitts; glass can share clean paint-safe microfiber; lower trim gets a secondary towel; wheels, tires, exhaust, and wheel wells get their own brushes and towels. That hierarchy keeps the dirtiest material moving away from sensitive surfaces rather than back toward them.
After the wash, inspect under direct and indirect light. Sunlight reveals water spots and swirl marks, while diffuse shade can make soap residue and streaking easier to see. Correcting a small rinse or drying issue immediately is easier than discovering it after the vehicle has been parked for several hours.
Finally, keep your wash kit simple enough that you will actually maintain it. A few clean, task-specific tools that are washed and stored correctly are safer than a large collection of brushes and towels with uncertain histories. Clean equipment and controlled technique matter more than owning every detailing accessory.
How to adapt the routine when conditions are not ideal
Real self-service bays are rarely perfect, so how to remove hard water spots after a car wash sometimes requires a small change in plan. If the vehicle arrives unusually dirty, the surface is hot, the bay brush looks contaminated, or a chemical setting is not clearly labeled, choose the lower-risk option rather than forcing the normal sequence.
If time runs out while soap is still on the vehicle, buy enough additional time to rinse it completely. Leaving detergent to dry is a worse tradeoff than spending another short cycle, especially on dark paint, matte finishes, glass, trim, and other surfaces that show residue quickly.
If the bay is crowded, prepare towels, brushes, payment, and personal chemicals before pulling into the stall. That keeps the paid wash focused on rinsing and cleaning, and it lets you move promptly to a designated drying or vacuum area instead of blocking the wash bay while organizing equipment.
If the communal equipment is in poor condition, do not assume you must use every tool provided. A dirty brush can be skipped, an unidentified wax setting can be ignored, and stubborn contamination can be handled later with a known product. The safest wash is often the one that leaves one difficult spot for another day.
When water pressure feels unusually strong, increase nozzle distance and keep the spray moving. When pressure is weak, rely more on dwell time and repeated rinsing instead of moving the nozzle dangerously close to paint, seals, fabric, wheel finishes, or aftermarket accessories.
After any unusual wash, inspect the vehicle before repeating the method next time. Look for new streaking, spotting, gloss changes, residue, or missed contamination. That feedback tells you whether the bay’s soap, brush, water quality, and pressure are suitable for your vehicle rather than relying only on the labels on the control panel.
A consistent routine should make the vehicle easier to maintain, not create new correction work. If you repeatedly leave the same facility with spots, swirls, staining, or chemical residue, change the process or choose a different bay instead of increasing scrubbing pressure or adding more aggressive chemicals.
Frequently Asked Questions
Does vinegar remove hard water spots from car paint?
It can dissolve many fresh mineral deposits on compatible glossy paint because acetic acid reacts with alkaline scale. Use a mild diluted solution, work briefly on cool paint, rinse thoroughly, and switch to a purpose-made product if you are unsure about surface compatibility.
Will a clay bar remove water spots?
Clay can remove bonded contamination sitting on top of paint, but it cannot repair an etch in the clear coat. Use it only after washing and with generous clay lubricant.
Can water spots become permanent?
Mineral deposits themselves can usually be removed, but prolonged exposure, heat, and contamination can leave etching in clear coat. Deep etching may require polishing or professional paint correction.
Why did the spots come back after I wiped them?
You may have removed loose residue while leaving bonded minerals or etched marks behind. Another possibility is that rinse water dried again before the surface was fully dried.
Can I use water-spot remover on glass?
Many products are designed for glass, but not all are safe for tint, coatings, plastics, or surrounding trim. Follow the product label for each surface rather than assuming paint and glass instructions are interchangeable.
Practical checklist before you leave the bay
Before leaving, walk around the vehicle once while it is still in good light. Look for soap trapped below mirrors, water running from badges or trim, missed grime on lower panels, and any towel streaks that are easier to correct now than after they dry.
Keep clean and dirty equipment separated as you pack. Put damp wheel towels and brushes in their own bag, keep paint towels away from the floor, and launder reusable microfiber before the next wash rather than letting residue dry into the fibers.
Finally, make a note of what worked at that particular facility. Self-service bays differ in pressure, water hardness, chemical strength, timer length, brush condition, and spot-free performance, so learning the strengths and weaknesses of a reliable local bay can improve the next wash.
Conclusion
The safest way to remove hard water spots after a car wash is to progress from gentle chemistry to mechanical correction only when necessary. Wash first, dissolve fresh mineral residue, use clay only for bonded contamination, and reserve polishing for actual etching on glossy paint.
Once the surface is clean, change the wash routine that caused the spots: use low-mineral final rinse when available and dry the vehicle before ordinary water evaporates.