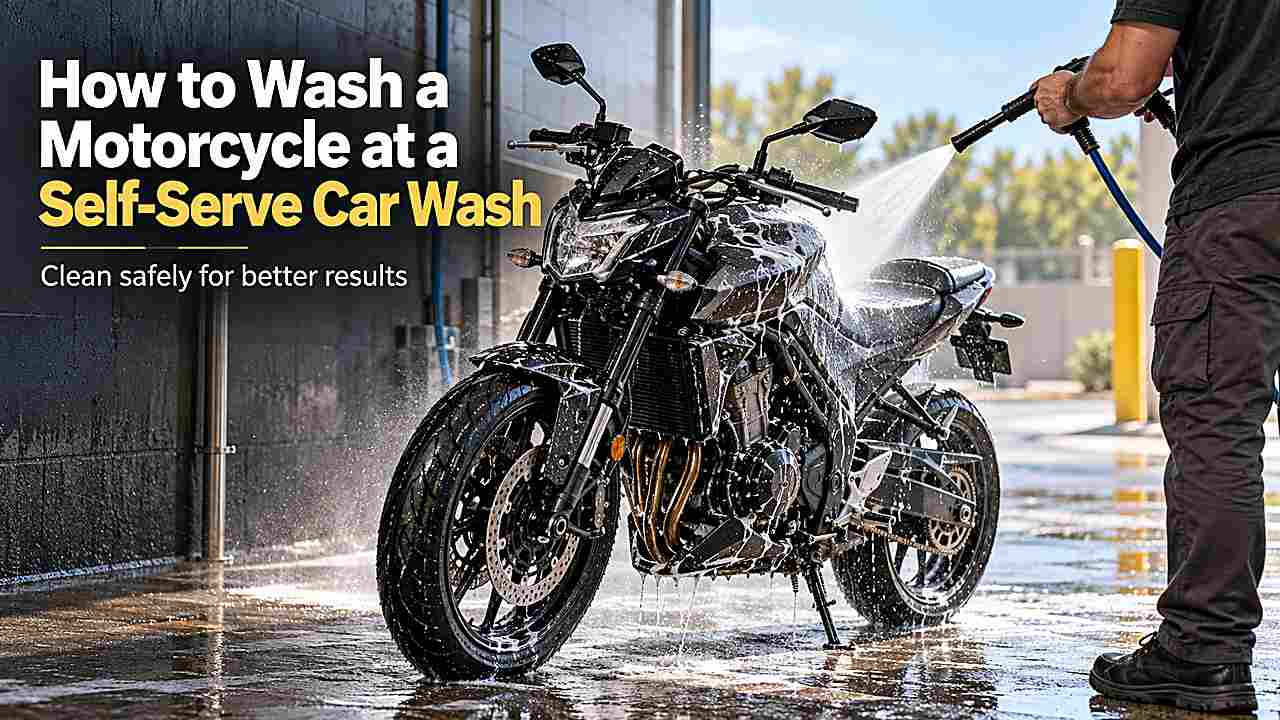
A self-serve wash can remove road grime, bugs, and brake dust from a motorcycle, but the pressure wand is far more powerful than the gentle hose flow many motorcycle manufacturers prefer. Bearings, seals, switches, electrical connectors, chains, and intake openings all require restraint.
Use the bay for controlled rinsing rather than close-range blasting. Bring soft wash tools, let the motorcycle cool, and plan to dry and relubricate the chain when applicable.
Wash a cool motorcycle with low-contact methods, keep the pressure wand well away from wheel bearings, seals, electrical parts, chain seals, controls, and exhaust openings, use motorcycle-safe cleaner, rinse gently, dry thoroughly, and relubricate the drive chain if required.
Why motorcycles need a different pressure-washing approach
A motorcycle exposes many components that are protected behind bodywork on a car. Wheel bearings, fork seals, switchgear, chain links, electrical connectors, and fasteners are close to the spray path.
Motorcycle-care guidance commonly warns against high-pressure spray because it can force water into bearings, seals, and electrical components. Even a motorcycle-branded pressure washer may specifically warn users not to spray bearings, seals, or delicate electronics directly.
That means nozzle distance and aim matter more than how quickly the dirt disappears.
Let the motorcycle cool and prepare it
Do not wash immediately after a hard ride. Hot exhaust components, engine cases, and brakes should cool before they are hit with water or cleaner.
Remove luggage or accessories that need separate cleaning, secure loose covers, close fuel and storage compartments, and follow the owner’s manual for exhaust or intake precautions. Some motorcycle guidance recommends protecting exhaust openings during washing.
Put the bike on stable ground and use a stand arrangement you trust. Wet concrete and soap make footing less secure.
Wash the motorcycle step by step
1. Rinse from a safe distance
Use a broad spray and stand back. Let water soften bugs and road film without aiming a concentrated jet at bearings, seals, electrical connectors, switches, radiators, or chain components.
2. Clean wheels carefully
Use motorcycle-appropriate wheel cleaner and a separate brush. Avoid soaking brake rotors with dressing or slippery products, and do not drive pressure into wheel bearings.
3. Apply motorcycle-safe soap
Use a cleaner compatible with paint, plastics, metal, and any matte or coated surfaces. Work on cool panels and do not let soap dry.
4. Agitate with soft tools
Use microfiber, a soft mitt, and small detailing brushes. Clean upper painted surfaces before the dirtier engine, lower frame, and swingarm areas.
5. Rinse gently and completely
Flush cleaner from seams, radiator fins, controls, and bodywork without lingering with the nozzle. More distance is safer than more pressure.
6. Dry before riding away
Use clean microfiber and, if available, gentle blown air around harmless crevices. Water left around fasteners and electrical areas can encourage corrosion.
7. Relubricate the chain if applicable
After the chain is dry, apply the lubricant specified by the motorcycle or chain manufacturer. Keep lubricant away from tires and brake surfaces.
Areas you should not blast with the wand
Keep direct high pressure away from
- Wheel bearings and axle seals
- Fork seals and suspension pivots
- Handlebar switches and instrument clusters
- Electrical connectors, fuse boxes, and exposed wiring
- Chain O-rings or X-rings at close range
- Air intake openings and filters
- Exhaust outlets
- Radiator fins at close distance
- Brake master-cylinder caps and sensitive controls
A light rinse can reach many of these areas during normal washing. The key is not driving a narrow high-pressure jet straight into them.
How to deal with bugs and chain grime
Bugs are easier to remove after they have softened. Use a motorcycle-safe bug cleaner or wet microfiber and give it dwell time rather than scrubbing dry remains across a windscreen or painted fairing.
Chain grease and fling need a compatible chain cleaner or degreaser. Do not use the pressure wand as a shortcut because high pressure can push contamination and water past chain seals.
Keep oily cleaners away from brake rotors, pads, and tire tread. If overspray reaches a braking surface, clean it with the appropriate product before riding.
Special care for matte, chrome, and windscreens
Matte paint needs products that do not add gloss or leave waxy residue. Chrome can spot if mineral-rich water dries on it, so dry it promptly.
Motorcycle windscreens may be polycarbonate or acrylic rather than automotive glass. Use a cleaner and towel that the windscreen manufacturer approves and avoid aggressive bug scrubbing.
If the bike has a ceramic coating or paint-protection film, use compatible maintenance products just as you would on a coated car.
Final safety check before riding
Before moving, make sure the seat, grips, foot controls, and tires are free from dressing or slippery residue. Squeeze the brakes while stationary and verify normal lever or pedal feel.
Look for warning lights and confirm that switches, lighting, and instruments function normally. If the engine runs poorly or an electrical fault appears after washing, stop and investigate rather than assuming the moisture will immediately disappear.
Ride cautiously at first because brake surfaces may still be damp.
How to make the process more predictable
A repeatable routine is safer than improvising once the timer is running. For this motorcycle wash, let the bike cool and pack microfiber, a wheel brush, and chain lubricant where applicable. That preparation removes decisions from the paid part of the wash and gives you more time to watch what the surface is doing instead of watching the countdown clock.
Work in a fixed order and keep clean tools physically separate from dirty ones. Move from the cleaner upper or more sensitive areas toward the dirtier sections, and treat paint, wheels, engine surfaces, radiator, chain area, controls, and windscreen according to their own needs rather than using one brush or one chemical everywhere. Cross-contamination is a common reason a wash that looks careful still creates fine scratches or streaks.
Use chemical strength as a last variable, not the first. In most maintenance situations, the better starting point is to use motorcycle-safe cleaner and separate products for chain grime only when needed. Give the product the label-recommended dwell time, keep it from drying, and add gentle agitation where appropriate before deciding that a stronger product or closer pressure is necessary.
Pressure should remove loosened contamination, not compensate for poor preparation. If an area does not respond to a normal rinse, identify what is actually on it before moving the nozzle closer. Mud, oily film, mineral deposits, sap, brake dust, and bonded fallout are different problems and they respond to different methods.
Build a small margin into the wash. An extra paid cycle, another clean towel, or a few minutes of cooling time is cheaper than fixing damage caused by forcing high-pressure water into bearings, seals, switches, chain components, or electronics. The goal is not to finish in the fewest possible minutes; it is to finish without creating a second problem that requires correction later.
When the wash is complete, dry thoroughly, relubricate the chain if required, and verify brakes, lights, controls, and instruments before riding. That final inspection turns each visit into useful feedback. If the same problem appears repeatedly at one facility, change the process, change the product, or choose a different bay rather than assuming you simply need to scrub harder next time.
Common mistakes that make the job harder
Starting on a hot or heavily contaminated surface
Heat shortens working time and heavy loose grit increases abrasion risk. Cool the surface when needed, remove loose contamination first, and never allow soap or specialty cleaner to bake onto the panel while you organize tools or add payment.
Using one tool for every part of the vehicle
The dirtiest areas should not share wash media with the most delicate ones. Wheels, tires, lower trim, exhaust areas, and engine grime deserve separate brushes or towels so abrasive contamination does not travel back to paint, graphics, glass, or coated surfaces.
Treating the pressure wand like a scraper
A close jet can damage weak paint, seals, decals, electrical parts, soft plastics, radiator fins, and other vulnerable components. If normal pressure from a sensible distance does not remove a mark, change the chemistry or method instead of moving dangerously close.
Letting the timer control the technique
When the countdown is nearly finished, people often rush rinsing or start scrubbing more aggressively. Buy more time if soap remains on the vehicle. A complete rinse is more important than saving the cost of one additional cycle.
Skipping a clean final inspection
Look at the vehicle from more than one angle before leaving. Direct light can reveal spots and scratches, while shade can reveal soap film and streaks. Fix a simple rinse or drying issue immediately while the surface is still accessible.
Packing wet and dirty tools together
A clean wash next week starts with how you pack today. Keep wheel towels, greasy brushes, and damp utility microfiber away from paint towels. Launder reusable microfiber properly and store it dry so old contamination is not carried into the next wash.
A practical checklist before you leave
- Confirm that all soap, cleaner, or protectant has been rinsed according to its directions.
- Check mirrors, badges, seams, handles, vents, and trim for trapped water or chemical residue.
- Keep clean drying media off the floor and away from wheel or engine tools.
- Inspect the most vulnerable surface or component for new streaks, lifting, moisture, or damage.
- Move to a designated drying or vacuum area instead of occupying the wash bay after rinsing is finished.
- Make a quick note of what worked so the next visit is faster without becoming more aggressive.
Know when to stop and finish the problem later
A self-service bay is excellent for routine cleaning, but it is not the right place to solve every defect. If a stain, bonded contaminant, leak, damaged finish, electrical concern, or specialty surface is not responding to a safe first method, stop escalating pressure or chemistry just because the timer is running. The next step may be a dedicated product, a controlled home-detailing process, or professional repair rather than a stronger wash setting.
This matters because many expensive mistakes happen after the vehicle is already mostly clean. Once loose dirt is gone, remaining marks can look like something that simply needs harder scrubbing. In reality, they may be mineral etching, oxidation, adhesive residue, failed clear coat, damaged sealant, embedded contamination, or a mechanical leak. More force does not correct those problems and can turn a visible defect into permanent surface damage.
Use the wash bay to create a clean baseline. Rinse thoroughly, dry enough to inspect, and look at the remaining issue in good light. If the mark has texture, color change, lifting edges, cracking, or evidence of a leak, treat that observation as diagnostic information. Taking a photo before trying another method can also help you compare whether the condition is improving or getting worse.
A good DIY routine therefore includes a stopping point. When you cannot identify the problem confidently, leave it alone until you can check the vehicle or product manufacturer’s guidance. Finishing one wash with a small unresolved spot is usually cheaper than correcting scratched paint, damaged graphics, stained trim, a water-filled connector, or a loosened seal caused by trying to force a result.
Frequently Asked Questions
Can I pressure wash a motorcycle at a coin wash?
You can use the wand as a distant rinse, but motorcycle guidance generally advises avoiding close high-pressure spray on bearings, seals, electrical components, chain seals, and delicate parts.
Should the engine be hot or cold?
Let it cool before washing. Very hot metal, exhaust parts, and brakes should not be hit with cold water or cleaner.
Can I use the car wash foam brush?
It is safer to use your own clean microfiber or mitt. A communal brush may contain grit and is awkward around delicate motorcycle parts.
Do I need to lubricate the chain after washing?
For chain-driven motorcycles, washing can remove or disturb lubricant. Dry the chain and lubricate it according to the motorcycle or chain manufacturer’s instructions.
Can I spray the radiator?
Rinse it gently from a safe distance. Close high pressure can bend delicate fins and reduce airflow.
Conclusion
To wash a motorcycle at a self serve car wash, think gentle rinse rather than pressure cleaning. Keep the bike cool, use soft tools and compatible products, avoid bearings and electronics, dry it thoroughly, and service the chain afterward when required. Before your next ride to the wash, pack microfiber, wheel tools, and chain lubricant so the job ends safely.