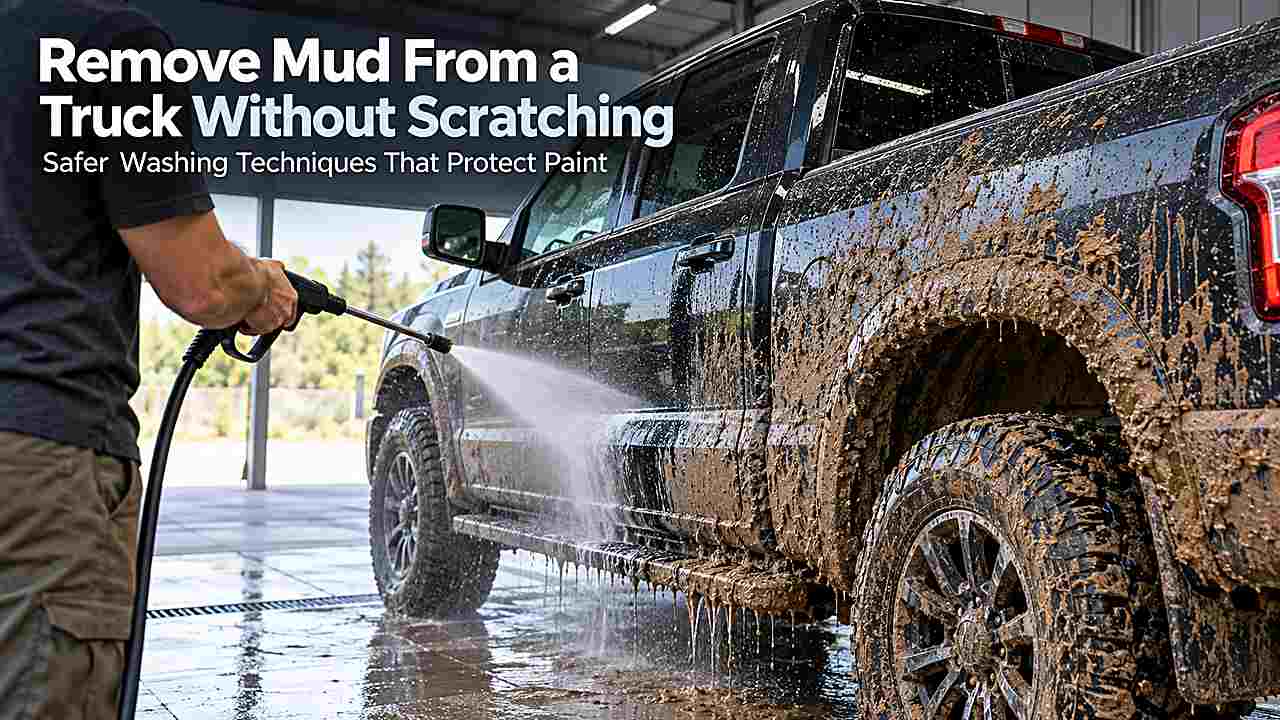
Mud is one of the easiest ways to scratch a truck during washing because dried dirt is full of abrasive mineral particles. If you drag a sponge, brush, or towel across it before the loose material is removed, you can grind that grit into clear coat.
A scratch-conscious mud wash uses water first and contact second. Soften thick deposits, pressure-rinse from a safe distance, flush wheel wells and lower panels thoroughly, and only then use clean wash media on the film that remains.
To wash mud off a truck without scratching, let heavy mud soften, rinse away as much grit as possible before touching the paint, work from top to bottom with clean wash media, keep wheel tools separate, rinse thoroughly, and dry only after the surface is genuinely clean.
Why mud causes wash scratches
Mud is not just dirty water. Once dry, it contains sand, silt, clay, and road particles that can behave like abrasive powder when trapped under a brush or mitt. The thicker the deposit, the more important a long pre-rinse becomes.
The goal of the first stage is not perfect cleanliness. It is to remove the high-risk loose material with water so your contact wash deals with a thin traffic film instead of chunks of grit.
This is also why a heavily muddy truck should not be towel-dried after a quick rinse. If visible film remains, the towel becomes another contact tool dragging contamination across paint.
Prepare the truck and wash area
Check whether the self-service facility allows heavy mud. Some washes restrict off-road mud because it can clog drains or leave the bay unusable for the next customer. If the truck is extremely dirty, choose a wash designed for muddy vehicles and rinse the bay floor when you finish.
Remove loose gear from the bed, close toolboxes and tonneau covers, retract powered steps as appropriate, and inspect aftermarket lights, cameras, decals, fender flares, and exposed wiring. Reduce pressure around anything that is loose or not factory-sealed.
Bring separate tools for paint and wheels. A brush that has been inside a muddy wheel well should never touch a door or hood.
Use a low-contact mud-removal sequence
1. Let thick mud soften
If the mud is baked hard, wet it thoroughly and give the water time to penetrate. Re-wet stubborn areas rather than immediately moving the pressure nozzle close to the surface.
2. Start with wheel wells and underbody areas
Flush large clumps from the arches, mud flaps, suspension-adjacent surfaces, steps, and lower bumpers. Stand clear of rebound and avoid spraying directly into electrical connectors or sensitive components.
3. Pre-rinse the body from a safe distance
Work top to bottom with overlapping passes. Give the tailgate and lower sides extra time because trucks often collect a thick layer of grit there.
4. Inspect before touching the paint
If you can still see sandy mud or feel obvious particles, rinse again. Contact washing begins only when the remaining dirt is a thin film rather than loose abrasive material.
5. Wash with clean, lubricated media
Use automotive shampoo and a clean microfiber mitt. Work upper panels first, rinse the mitt frequently, and switch to a separate mitt or towel for the dirtiest lower sections.
6. Rinse and dry completely
Flush shampoo and loosened dirt from seams, flares, steps, mirrors, and bed rails. Dry with clean microfiber only after you are confident the paint is free of grit.
Pressure-washer technique matters
Pressure helps move mud, but concentrated pressure can damage decals, chipped paint, weather seals, radiator fins, electrical accessories, and soft trim. Keep a conservative distance and let repeated water passes do the work.
Use a broad fan rather than a pinpoint stream. The fan covers more area and reduces the temptation to trace every mud spot with a narrow high-force jet.
Never use the nozzle as a scraper. If a clump will not release, soak it longer or use appropriate chemistry after the abrasive surface layer has been rinsed away.
Keep wheels, tires, and lower panels separate
Wheel wells can contain sharp sand, tiny stones, brake dust, and greasy road contamination. Use dedicated brushes and towels there, and wash those tools separately before they return to service.
When cleaning lower painted panels, use a second mitt if possible. Even after pressure rinsing, rocker panels and rear quarters carry more abrasive material than the roof and hood.
This contamination hierarchy matters more than owning a large collection of products. The cleanest tools should always touch the most delicate surfaces.
What about the truck bed and tonneau cover?
A painted bed, spray-in liner, drop-in liner, and tonneau cover all need different treatment. Flush loose dirt from bed drains and corners, but avoid driving water into electrical outlets, cargo-management hardware, or damaged seals.
Use a cleaner compatible with the bed liner or cover material. Some vinyl covers do not respond well to strong degreasers or petroleum-based dressings, while textured liners may need a brush that would be inappropriate for paint.
If the bed contains soil, gravel, or organic material, remove the bulk mechanically before entering the wash bay so you do not overload the drain.
Drying after a mud wash
Muddy trucks release hidden dirty water for several minutes after rinsing. Wheel arches, mirror housings, fender flares, bed rails, tailgates, steps, and door seams can all drip onto panels you already dried.
Dry broad paint first, then revisit these areas with a smaller towel. Do not use the same towel on the tailpipe, wheel wells, and paint.
If a towel picks up visible dirt during drying, stop. That is evidence the panel or a dripping seam was not fully clean, so rinse the area again rather than continuing to wipe.
How to handle scratches and stains you notice afterward
A thorough wash can reveal existing scratches that mud was hiding. Do not assume every visible mark was created during the wash. Inspect under good light and distinguish surface residue from defects in the clear coat.
Clay, polish, or compound should only come after the truck is clean and decontaminated. Trying to polish over hidden grit creates more marring.
If mud has stained textured plastic or porous trim, use a material-compatible cleaner later rather than scrubbing harder during the paint wash.
How to adapt the method when conditions are not ideal
Real wash bays rarely give you perfect conditions, so how to wash mud off a truck without scratching sometimes requires changing the plan rather than forcing the normal sequence. Hot panels, weak water pressure, a crowded facility, unknown chemicals, wind, or unusually heavy contamination all affect what is safe and efficient.
If a product begins drying before you can rinse it, stop adding more product and rinse the affected area first. If pressure feels unusually strong, increase nozzle distance and keep the fan moving. If pressure is weak, use more dwell time and repeated passes instead of moving the nozzle dangerously close to paint, seals, graphics, trim, or accessories.
When the bay is busy, do preparation before entering and move to the designated drying or vacuum area as soon as the spray work is finished. That lets you work carefully without blocking the stall for tasks that do not require the bay’s water system.
If you are unsure whether a chemical, brush, or pressure setting is compatible with a specialty surface, choose the lower-risk option and finish that detail later with a known product. Leaving one stubborn mark for another day is safer than creating permanent damage while a timer is running.
A final inspection before you leave
Walk around the vehicle or equipment in good light before packing up. Look for soap trapped below mirrors or trim, dirty runoff from seams, missed contamination on lower areas, fresh water spots, and any streak that is easier to correct while the surface is still wet.
Keep clean and dirty tools separated as you pack. Anything used on wheels, tires, floor mats, muddy lower areas, trailer parts, or the bay floor should stay away from paint-safe microfiber until it has been thoroughly washed.
Make a mental note of how that particular bay performed. Water pressure, chemical strength, timer length, spot-free quality, hose reach, and drainage vary between facilities. A consistent process gets easier when you know which settings at a reliable local wash actually work for your vehicle.
Practical details that improve the result
Mud from different environments behaves differently. Fine clay can form a stubborn film, while sandy mud releases abrasive grains quickly. Either way, treat visible particles as scratch risk and continue the rinse until the panel no longer carries loose grit. The cleaner the surface becomes before contact, the safer the wash mitt stage will be.
Do not forget the areas behind mud flaps and fender liners. They can release dirty water onto clean bodywork throughout the wash. Flush them early, then revisit them before drying so fresh mud does not run down the rocker panel after you have already towelled it.
Off-road accessories need their own inspection. Recovery boards, rock sliders, aftermarket bumpers, light bars, winches, bed racks, and auxiliary wiring can trap mud or have exposed connectors. Clean them according to their materials and avoid sending a concentrated stream into electrical housings or bearing surfaces.
If the truck has matte graphics, vinyl decals, PPF, or a ceramic coating, those surfaces still benefit from the same pre-rinse principle but may have different chemical limits. Do not assume a strong mud-removing degreaser is safe for every finish on the vehicle.
After the wash, clean your wash mitts and towels separately from heavily contaminated wheel and underbody tools. Mud particles can remain in fibers after a simple rinse, so proper laundering is part of preventing scratches at the next wash.
A final inspection under sunlight can reveal whether the truck is truly clean or simply wet. If you see remaining dirty film, wash that area again rather than rubbing it with a drying towel. The towel should remove water, not finish the cleaning job.
When the truck has been used off-road, consider doing a second inspection after the first rinse rather than assuming every brown area is still mud. Some marks may be stains on textured plastic, old scratches, or dried residue in seams. Identifying the material before touching it prevents unnecessary rubbing. If the surface is still gritty, rinse again. If it is clean but stained, handle that cosmetic issue later with a compatible product instead of using more pressure on the paint.
For trucks that see mud often, applying a compatible wax, sealant, or coating after a proper wash can make later cleanup easier because dirt has less tendency to bond strongly to the surface. Protection does not make abrasive mud safe to wipe, but it can reduce how much agitation is needed after the mandatory pre-rinse.
Frequently Asked Questions
Should I let mud dry before washing?
No. Fresh or softened mud is generally easier to rinse away. If it has already dried, soak it before applying contact pressure.
Can I use the self-serve brush on a muddy truck?
It is risky on paint because the brush may already contain grit, and your truck’s mud adds more. Use your own clean wash media when the facility allows it.
How close should I hold the pressure wand?
Use a conservative distance that removes dirt without concentrating force on paint edges, decals, seals, or accessories. More dwell time is safer than moving extremely close.
Can I towel-dry after only pressure rinsing mud?
Only if the surface is truly clean. If road film or grit remains, towel contact can scratch the paint.
Should I wash underneath the truck?
Rinsing accessible muddy underbody areas can be useful, but avoid sensitive electrical parts and never crawl under a vehicle in an active wash bay. Use purpose-built underbody equipment when needed.
Conclusion
Mud removal is safest when you allow water to carry the abrasive material away before your hands ever touch the paint. Soften heavy deposits, pre-rinse patiently, separate dirty tools from paint tools, and dry only after the truck is completely clean. Spending a few extra minutes on the rinse is far cheaper than removing wash-induced scratches later.